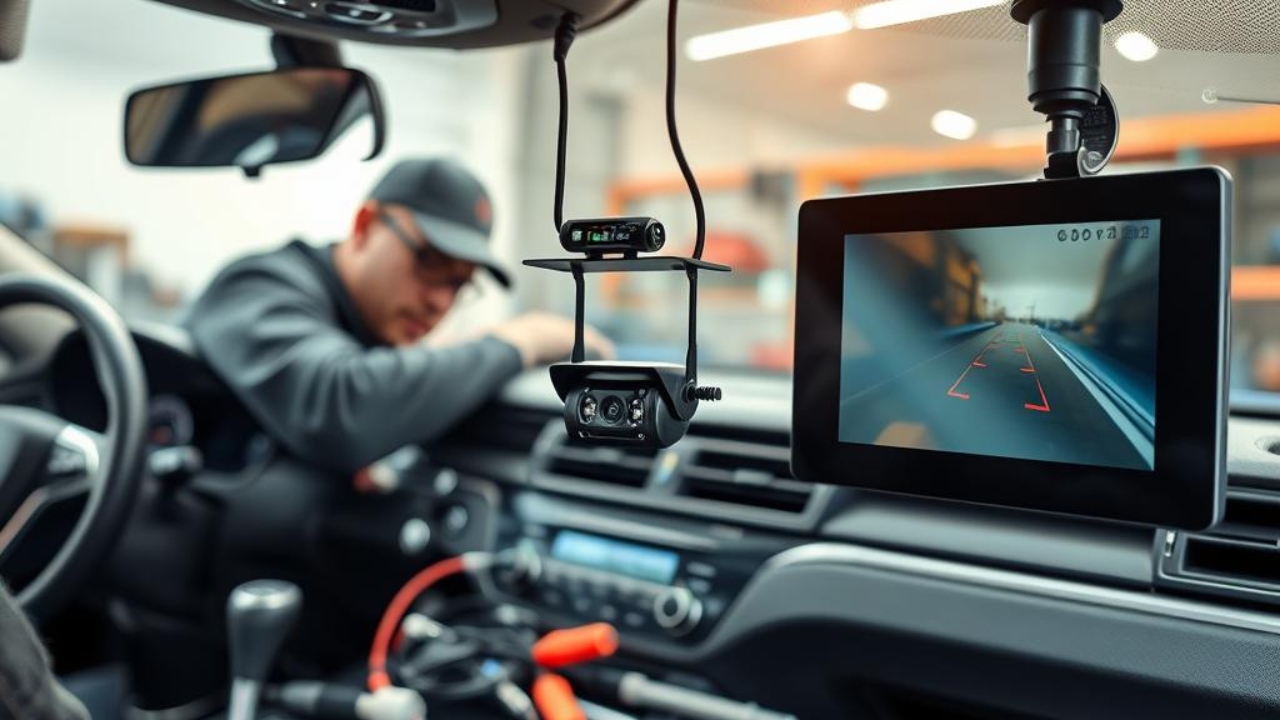
It’s as if you could back up your car without the need to worry about potential obstacles. Backup cameras offer that confidence. With growing road safety issues, these cameras have become an important part of every vehicle. If you want to make your driving experience a better one, and stay safe for yourself and your loved ones, installing a backup camera is worth the money.
But how do you go about installing one?
In this tutorial, we’ll guide you through the entire experience, right from choosing a camera to installing it. At the end, you’ll be confident in your DIY talents and glad you have the extra security of a backup camera.
Why You Need a Backup Camera
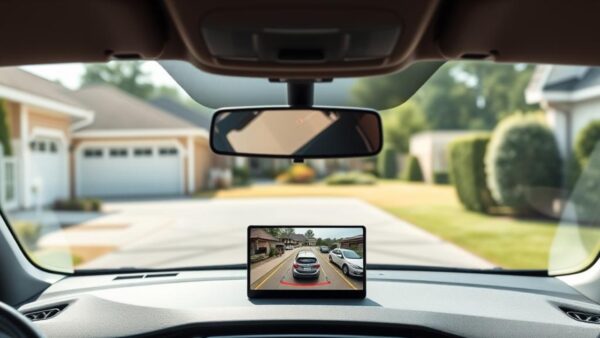
Before we move to the installation, consider why you need a backup camera –
- Safety – Backup cameras reduce the risk of an accident by seeing exactly what’s happening behind you.
- Convenience – It’s much easier to park if you can see what’s in front of you instead of underneath you.
- Legal Compliance – In most countries, including India, a backup camera is now a common feature in all new cars.
Benefits at a Glance
| Benefit | Description |
| Enhanced Safety | Reduces blind spots and helps avoid accidents. |
| Easier Parking | Makes maneuvering into tight spots simpler. |
| Increased Vehicle Value | A backup camera can enhance resale value. |
Choosing the Right Backup Camera
Not all backup cameras are created equal. Here are some factors to consider –
1. Type of Camera
Wired vs Wireless – Wired cameras typically deliver higher-quality video, while wireless cameras are more portable.
High Definition – Make sure your camera has a minimum of 720p resolution for crisp pictures.
2. Night Vision Capability
If you frequently drive at night, you might want a camera that has night vision. This will improve nocturnal visibility.
3. Field of View
Your field of view should allow you to perceive more of what’s behind you. You want cameras that give you at least 120 degrees of view.
4. Durability
Find a camera that is weather resistant. Make sure to choose waterproof models that are waterproof and designed for outdoor use.
Tools You’ll Need

Obtain the following tools before installing –
- Screwdriver – For mounting the camera.
- Wire Strippers – For connecting wires.
- Drill – If you need to make new holes.
- Electrical Tape – To secure connections.
- Multimeter – For checking electrical connections.
Step-by-Step Installation Guide
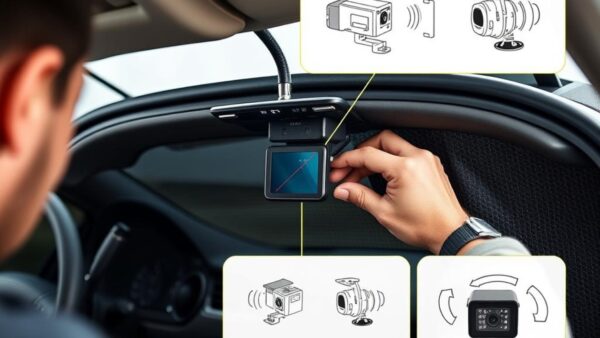
Now, let’s get into the nitty-gritty of installing your backup camera.
Step 1 – Prepare Your Car
- Select the Place – The most used place is above the license plate. You want to make sure it’s not blocked, but visible.
- Make the Surface Clean – Keep the surface clean so that it can be properly adhered if you’re using a mount.
Step 2 – Mount the Camera
- Drill Holes – If your camera requires screws, drill holes in the selected area.
- Secure the Camera – Attach the camera using screws or adhesive, depending on the design.
Step 3 – Run the Wires
- Connect the Camera – Run the wires from the camera through the trunk or hatchback.
- Power Connection – Connect the camera’s power wire to the reverse light’s positive wire. Use a multimeter to identify the correct wire.
- Ground Connection – Connect the camera’s ground wire to a suitable ground point in the vehicle.
Step 4 – Connect to the Display
- Display Unit – If your car has a built-in display, connect the camera using the appropriate cable. If not, consider using a separate monitor.
- Test the System – Before finalizing the installation, test the camera by shifting into reverse. Ensure the video feed is clear.
Step 5 – Tidy Up
- Secure Loose Wires – Use electrical tape to secure any loose wires.
- Reassemble – Put back any panels or coverings you removed during the process.
Common Issues and Troubleshooting
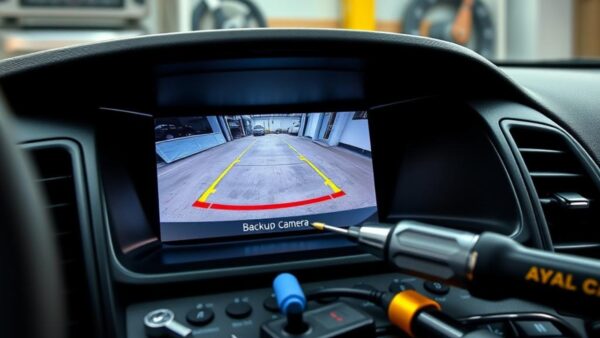
Even after careful installation, you might face a few issues. Here are some common problems and their solutions –
1. No Video Feed
- Check Connections – Make sure all wires are securely connected.
- Inspect the Camera – Ensure the camera is powered correctly.
2. Poor Image Quality
- Clean the Lens – Dirt or moisture on the lens can affect visibility.
- Adjust the Angle – Ensure the camera is angled correctly for optimal viewing.
3. Interference
- Check for Signal Issues – For wireless cameras, interference from other devices can cause problems. Ensure the camera is within range of the receiver.
Conclusion
The addition of a backup camera to your car not only increases your driving safety but also makes driving enjoyable. If you follow this, you should feel confident in tackling the installation yourself. Be reminded, good tools and preparation are your only keys to successful configuration.
If you’re searching for quality backup cameras and car accessories, check out Mecarnic. They have all kinds of products that can help you improve your driving experience. Check out their website and start browsing for accessories for your car today!
This not only protects you and your family but you also value your vehicle. Happy driving!

